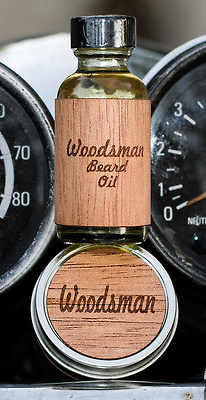
Today’s review will be on Dream Beard’s “The Mechanic” Hand Crafted Oils.

Dream Beard’s “The Mechanic” Hand Crafted Oils
Before you read this review, if possible, please allow me to qualify myself as a beard care reviewer. My knowledge and history of facial haircare extends back 15 years. In addition, my wife, who works at a high-end hair salon, has also been an invaluable addition to my understanding of overall haircare. Suffice it to say, I know a couple of things about facial hair and how to take care of it. The goal of my beard care product reviews is to help you understand and determine what products would best suit you on your journey to creating the most amazing luxurious beard you can!
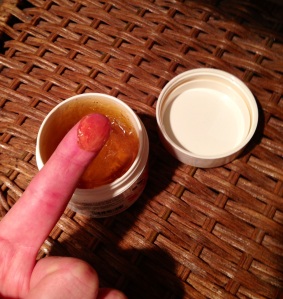
Last week I was fortunate enough to be sent a sample of Dream Beard Essential Oils “The Mechanic” to review. This couldn’t have come at a better time; just that week I had fried a small section of my beard while styling it for Monbeardday! After using this product every day for 1 week, I am now ready to report on it!
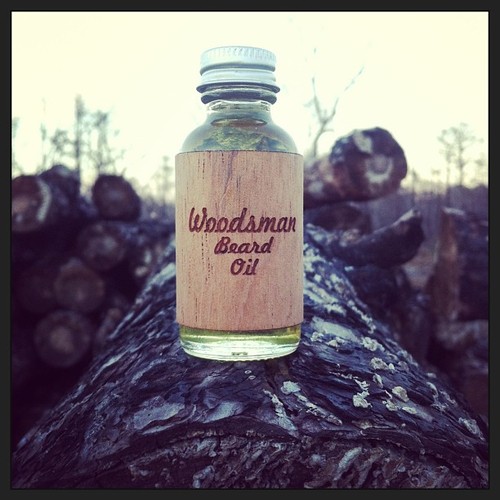
Let me begin with the product design. This product comes in a small dark blue glass bottle with a glass dropper. Though the bottle design is not unique, it is quite functional for dispensing oil without making a mess! Depending on your beard length, a quarter to a half dip stick is all you need for a good lathering! Be sure not to use too much as no one wants an extra oily face (this is especially true if your beard is shorter, i.e. 1-3 inches).
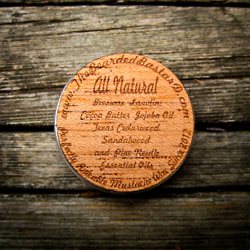
This product includes the following ingredients: EVOO, Jojoba, Vitamin E, Bergamot and other essential oils. EVOO (extra virgin olive oil) acts like Nature’s hair and skin conditioner. Jojoba oil is special because it is a liquid wax, which is chemically very similar to sebum, the natural oil produced by your skin and scalp. Vitamin E is excellent at repairing damaged hair and preventing split-ends and dryness. Bergamot oil is a good hair stimulant but also acts as a relaxant to minimize frizz and curls. Finally, the essential oils aid in the overall strengthening of your hair.
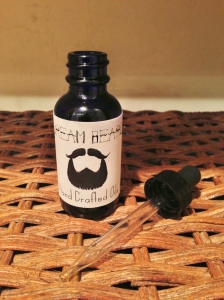
Normal glass dropper
To use, simply squeeze the desired amount of product into the palm of your hand, rub your hands together, and lightly rub into your beard. It is best to do this when your beard is fresh out of the shower, dried and ready to absorb! PLEASE NOTE: when placing oily products into your beard, it is important to know that you should always start mid-shaft and rub down to the tips of the hair. Oily products should not be applied to the root of the hair since that will be the healthiest part of the hair. Also, the natural oils from your skin will be enough for that area. If you apply extra oil to this part of your hair, it will not absorb into the hair well and may eventually irritate the skin or clog pores. To keep the product from being too wet, you can blow dry your beard, making sure to comb it at the same time (do not blow dry more than 3 times a week to keep your beard healthy).
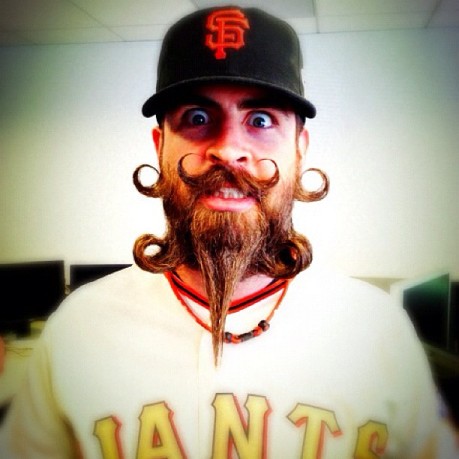
My scent is called “The Mechanic” and is meant to emulate the smell of a manly-man mechanic. I personally do not enjoy the smell very much, but my wive loves it. I have now used the product for a week, and I have not noticed any significant difference in the health of my beard; however, I have noticed the natural sheen and softness of my beard hair has increased. Also, if applied before bed, the product will help keep your beard from tangling while sleeping (a very nice plus for moving sleepers like myself)! This product can be used every day, or every few days (depending on your bearded needs). Perhaps with continued use over a much longer period of time, my hair may heal using this product; however, if it takes that long, it would be wise to simply trim the tips of the damaged area, and let it grow out healthy again.
It is important to understand this is only an oil-based liquid and will not aid in keeping fly-aways and curly-q’s down as it doesn’t have enough weight to make your hair lay flat. So the question finally arises, would I recommend this product? My answer is two-fold. I would not recommend this product as a hair healer, but I would recommend this product if your beard is dry or brittle (as that is a sign of unhealthy hair). This product will definitely plump up your beard and keep it from becoming brittle. At $15 a bottle or $30 for 3, the price point is spot on as the bottle should last quite a while (depending on beard length and usage). All-in-all, Dream Beard’s hand crafted oils would be a great addition to anyone’s list of beard care products because a healthy beard is a happy beard!
You can find Dream Beard and their products on Instagram @dreambeard or on Facebook HERE.
As always, feel free to post your questions and comments below!
You can also find me on Instagram/Twitter @incredibeard !
Be Strong and Beard On my friends!
EDITS: Thank you to BeerWarden and /r/beards for the following edits:
– Split-ends cannot be repaired, only prevented.
– Jojoba oil is a liquid wax, not a vegetable oil.
– Dry hair is a sign of unhealthy hair, not coarse hair.